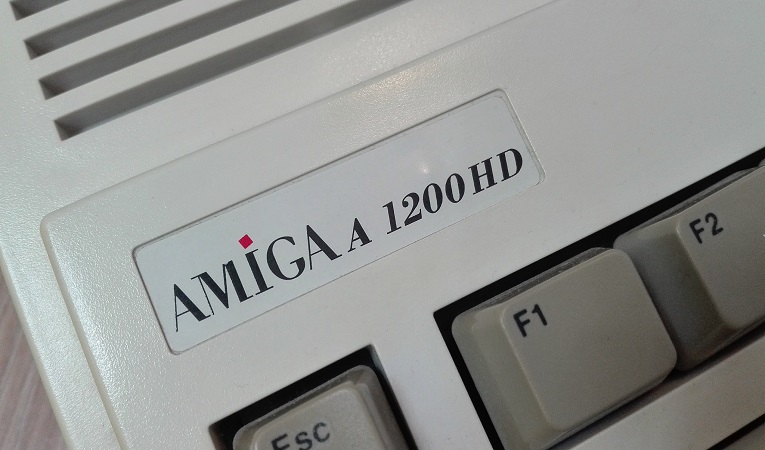
 The Amiga 1200, our beloved computer from 1992 is getting old(sadly), with age, the capacitors in the Commodore Amiga 1200 can deteriorate, leading to various issues and potential damage. To preserve and revive the Amiga 1200, it is essential to perform a thorough capacitor replacement. The concept of capacitors and their function within the Amiga 1200. Capacitors store electrical energy and play a crucial role in stabilizing the power supply, filtering signals, and maintaining the proper functioning of the computer’s circuits. Over time, capacitors can degrade due to factors like age, temperature, and usage, leading to potential issues like leakage and failure. The need for a comprehensive capacitor replacement becomes evident to ensure the Amiga 1200’s longevity and optimal performance. We will provide a detailed list of capacitors present in the Amiga 1200 motherboard. It includes information on the location, capacitance value, voltage rating, and electrolyte type of each capacitor. Enthusiasts will learn how to identify capacitors on the motherboard and understand the significance of each component.
Below is a detailed list of all important capacitors found on the Amiga 1200 motherboard and their respective functions:
- C1 – Function: This capacitor is part of the power supply filtering circuit, helping to stabilize the voltage and filter out noise from the power source. Location: near the power connector (top left corner of the motherboard). Capacitance: 470µF Voltage Rating: 16V Electrolyte Type: Aluminum Electrolytic
- C2 – Function: Similar to C1, this capacitor also plays a role in power supply filtering, contributing to a stable and clean power delivery. Location: near the power connector (top right corner of the motherboard). Capacitance: 2200µF Voltage Rating: 16V Electrolyte Type: Aluminum Electrolytic
- C3 and C4 – Function: These capacitors are involved in filtering and decoupling the signals and power supply lines for the expansion port, ensuring smooth data transfer and reliable communication with expansion devices. Location: near the expansion port (bottom left corner of the motherboard). Capacitance: 220µF Voltage Rating: 16V Electrolyte Type: Aluminum Electrolytic
- C5 and C6 – Function: These capacitors are part of the keyboard circuit and contribute to stabilizing the keyboard signals, ensuring accurate and reliable keypress detection. Location: near the keyboard connector (bottom left side of the motherboard). Capacitance: 10µF Voltage Rating: 50V Electrolyte Type: Aluminum Electrolytic
- C7 and C8 – Function: These capacitors are part of the audio circuit and help filter and stabilize the audio signals, ensuring clear and distortion-free sound output. location: near the audio connector (top left side of the motherboard and top right side of the motherboard). Capacitance: 10µF Voltage Rating: 16V Electrolyte Type: Aluminum Electrolytic
- C9 and C10 – Function: These capacitors are involved in the floppy disk drive circuit, helping to stabilize the power supply and filtering signals, ensuring reliable data transfer and disk operation. Location: near the floppy disk drive connector (middle left side of the motherboard and middle right side of the motherboard). Capacitance: 47µF Voltage Rating: 16V Electrolyte Type: Aluminum Electrolytic
- C11 – Function: This capacitor is part of the power supply filtering circuit for the Agnus chip, a crucial component responsible for graphics and memory management in the Amiga 1200 Location: near the Agnus chip (center of the motherboard). Capacitance: 22µF Voltage Rating: 16V Electrolyte Type: Aluminum Electrolytic
Note: Before starting, ensure that you have the necessary tools and a suitable replacement capacitor kit for your Amiga 1200 model. Make sure to work in a well-lit and static-free environment.
Step 1: Preparation
- Power off your Amiga 1200 and unplug it from the power source.
- Open the Amiga 1200 case carefully, following the manufacturer’s instructions or using appropriate tools.
Step 2: Identify Faulty Capacitors
- Inspect the motherboard carefully for capacitors that show signs of leakage, bulging, or discoloration. These are clear indications of faulty capacitors that need replacement.
Step 3: Gather the Necessary Tools
- Soldering iron with a fine tip
- Desoldering pump or desoldering braid/wick
- Isopropyl alcohol or electronic cleaner
- Anti-static wrist strap (optional but recommended)
Step 4: Safety Precautions
- Put on an anti-static wrist strap (if available) to discharge any static electricity and avoid damaging sensitive components.
- Double-check that the Amiga 1200 is unplugged from the power source.
Step 5: Desoldering
- Use the soldering iron to heat up the solder joints on one of the faulty capacitors.
- Once the solder is melted, use the desoldering pump or desoldering braid to remove the excess solder and free the capacitor’s leads.
- Repeat this process for all the faulty capacitors you need to replace.
Step 6: Removal of Old Capacitors
- Gently lift and remove the old capacitors from the motherboard, ensuring you don’t damage the nearby components.
- If needed, use a pair of pliers or a capacitor removal tool to help extract the capacitors.
Step 7: Cleaning
- Clean the solder pads and holes using isopropyl alcohol or electronic cleaner to remove any remaining flux or debris.
Step 8: Replacement
- Insert the new capacitors into the appropriate holes, making sure their polarity matches the markings on the motherboard.
- Bend the leads slightly to hold the capacitors in place temporarily.
Step 9: Soldering
- Heat up the solder pads and the capacitor leads simultaneously using the soldering iron.
- Apply a small amount of solder to each joint, ensuring a strong and reliable connection.
Step 10: Trim Excess Leads
- Use wire cutters to trim the excess leads of the new capacitors, leaving a clean and tidy finish.
Step 11: Inspection
- Double-check all solder joints for proper connections and ensure there are no solder bridges or cold solder joints.
Step 12: Final Checks
- Carefully inspect the motherboard for any leftover debris or loose components.
- Close the Amiga 1200 case and secure it properly.
Step 13: Testing
- Plug in the Amiga 1200 and power it on to check if everything is working correctly.
- Run tests and monitor the performance to ensure that the new capacitors are functioning as intended.
By following this step-by-step guide, you can replace old or faulty capacitors in your Amiga 1200 computer, ensuring its smooth operation and longevity. Proper maintenance, including regular inspection and replacement of aging capacitors, will help you preserving the Amiga 1200 for many more years of enjoyment.
More Amiga news
 Understanding the clicking sound of an Amiga’s floppy Drive
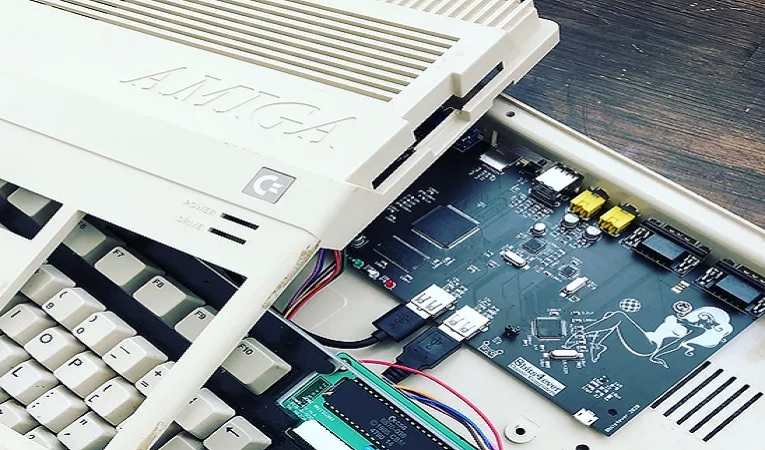
 A new low cost accelerator for the A1200: Raptor 1200 offering 080 power
 MiSS FPGA: Replacement boards for Amiga 500 cases
 28th Anniversary of the Commodore Amiga 1200
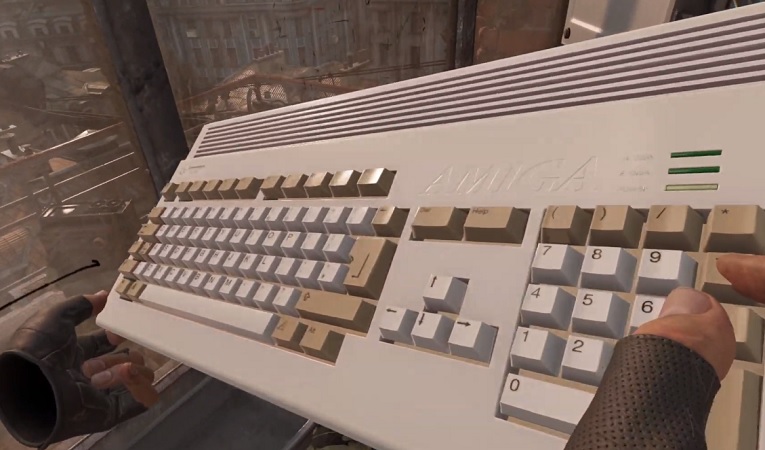 Iconic Commodore Amiga 1200 in Half-Life: Alyx
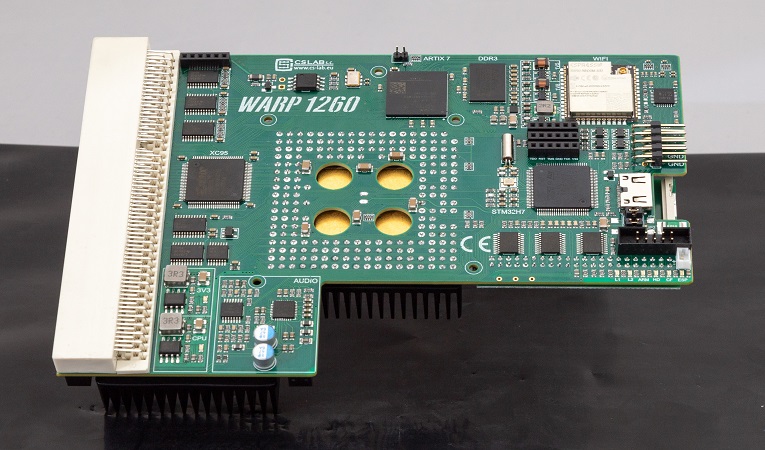 Beta launch of Warp 1260 accelerator for Commodore Amiga 1200
 Cabal: Assume the role of a well-trained and powerful commando
 Trailmarch: new upcoming role-playing game for the Amiga
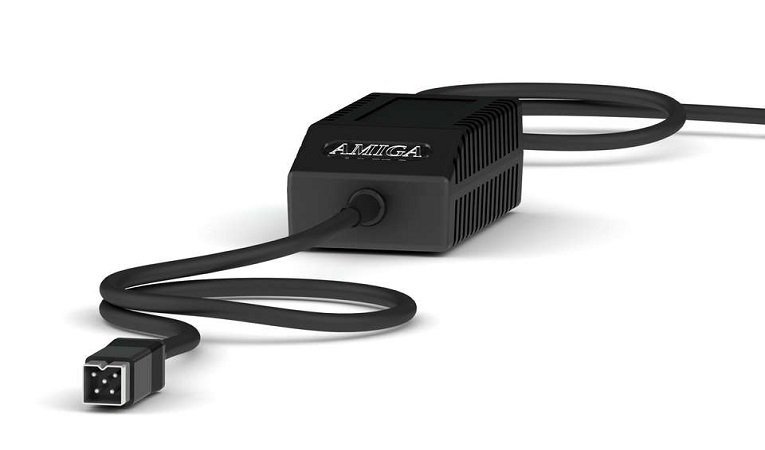 New high-quality Amiga power supply units available
 Today is the day when Vampire 1200 booted for the first time
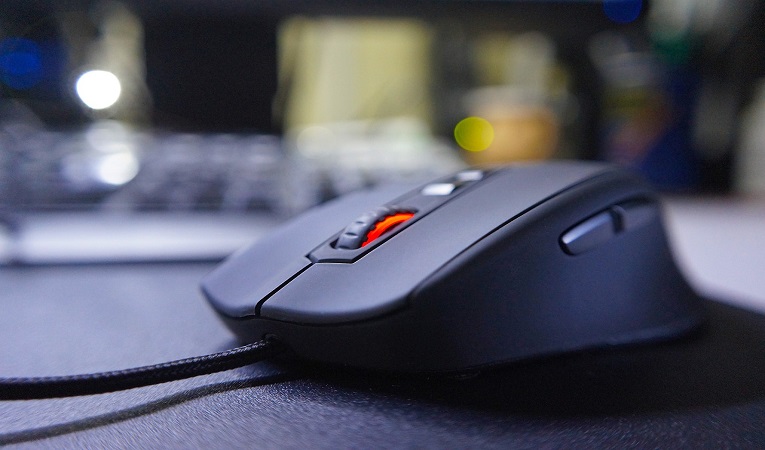 USB mouse module released for Amiga 1200
 25th Anniversary of the Commodore Amiga 1200
 A1200 bifrost: Customizable keyboard LED board for Amiga 1200
 Use Windows 8 Start as an Amiga launcher
ACA1221C/25 Accelerator available for Amiga 1200 computer
Use Windows 8 Start as an Amiga launcher
ACA1221C/25 Accelerator available for Amiga 1200 computer